How Much Does Pro Mini Split Installation Cost Per Zone in 2026?
In 2026, professional mini split installation commonly costs about $1,500 to $4,500 per zone, including equipment and labor. A straightforward single-zone job may come in below that range, while premium equipment, long line runs, electrical work, or difficult access can push the total higher. For labor alone, a useful planning range is $500 to $2,000 per zone—but that figure does not always include every trade or every item needed to finish the job.
“Per zone” is a helpful starting point, not a guaranteed price. A zone is typically one indoor unit connected to an outdoor unit. Two-zone systems often cost less per zone than two separate single-zone systems, but they still need additional indoor equipment, refrigerant lines, and installation time. Before comparing installer quotes, check exactly what each one includes.
As someone who has lived with ductless heads in both a bedroom and a garage, I pay attention to the details that become annoying after installation day: where the lines run, how the system gets power, whether it drains correctly, and who is responsible if the equipment or installation has a problem.
Typical Mini Split Costs Per Zone in 2026
Cost item Typical planning range What can change the price Equipment for one zone $700–$3,000+ Capacity, efficiency, brand, included line set, and features Installation labor per zone $500–$2,000 Access, line-set route, mounting, commissioning, and local labor rates Electrical work $300–$1,500+ Existing circuit capacity, wire run, panel space, disconnect, and permit needs Common total for a professionally installed single zone $1,500–$4,500+ Equipment choice and the scope of the site workThese are broad U.S. planning ranges, not a substitute for local bids. A low quote may leave out electrical work, permits, a condensate pump, line-hide covers, wall repairs, or system commissioning. A higher quote may include those items—or reflect a genuinely more difficult installation. Ask for an itemized scope before deciding which number is the better deal.
What “Per Zone Pricing” Usually Includes
A typical single-zone installation includes an indoor head, an outdoor condenser, a refrigerant line set, a condensate drain, mounting hardware, and the labor to connect and start the system. Depending on the installer and job, the price may also include a dedicated electrical circuit, outdoor disconnect, surge protection, permit, startup testing, and cleanup.
For a multi-zone system, the quick connect line set outdoor unit serves two or more indoor heads. The total project price usually rises with each added zone, but not always at the same rate. Some work—such as positioning and connecting the outdoor unit—is shared. However, every additional head still needs its own branch of refrigerant piping, drain planning, mounting, and testing.
Why a second zone does not simply cost half as much
Adding a zone can mean another wall opening, a longer or more complicated line-set route, additional electrical or control wiring, and extra time to pressure-test and commission the system. If the two rooms are far apart or on different floors, routing can be a bigger cost driver than the number of indoor units.
What Drives Installer Quotes Up or Down?
- Line-set length and routing: A short, direct run is generally less work than a long route through finished walls, an attic, or a crawlspace. The equipment has manufacturer limits for length and elevation; a quote should confirm the planned route is within them.
- Wall and outdoor-unit access: Brick, concrete, tight side yards, steep locations, and second-story work can add time and equipment needs.
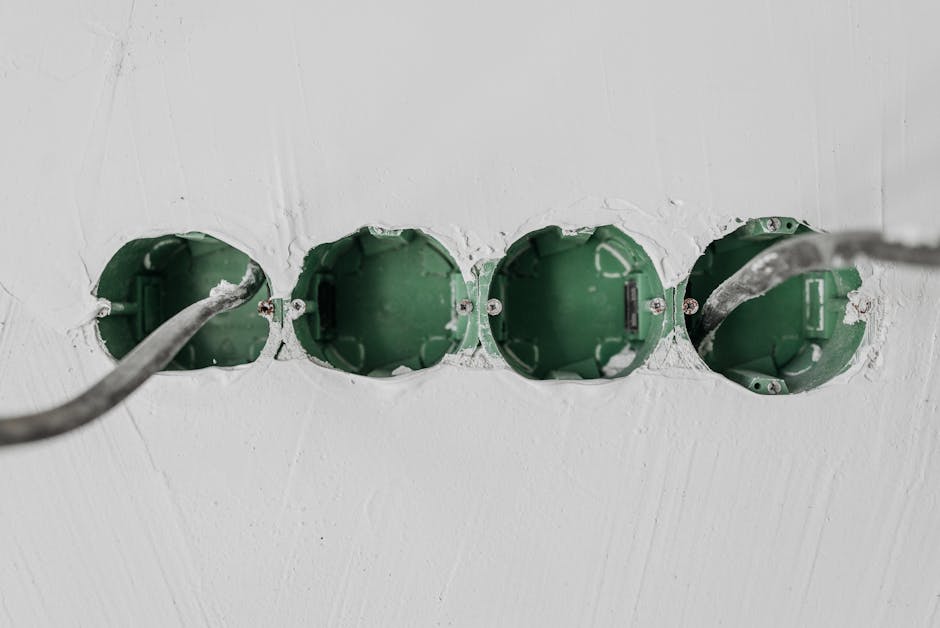
- Electrical capacity: A new circuit, panel upgrade, longer wire run, or outdoor disconnect can add substantially to the bill.
- Condensate drainage: Gravity drainage is usually simplest. If the head cannot drain naturally to a suitable outlet, a condensate pump may be needed—and pumps can add noise and maintenance.
- Permits and inspections: Local rules vary. Ask whether permit fees and inspection coordination are included.
- Startup and warranty responsibilities: Proper commissioning takes time. Confirm the installer will test the system and document startup, rather than simply connecting it and leaving.
One of the items on my personal list of “stuff that ruins weekends” is a surprise electrician visit. Ask early whether the price assumes a suitable circuit already exists. The outdoor unit may need a dedicated 230V circuit and a disconnect, even when the indoor unit looks like a simple wall appliance.
True DIY vs. Marketing DIY
“DIY” can mean very different things in mini split advertising. Some systems are designed to simplify the refrigerant connections, but that does not automatically make the whole installation a plug-in project. You still need to mount the indoor and outdoor units securely, route and protect the lines, manage condensate, meet electrical requirements, and follow the manufacturer’s installation and warranty instructions.
Traditional mini split work commonly requires a vacuum pump and manifold gauges to evacuate and check the refrigerant circuit. The installer also needs appropriate tools and knowledge to make and inspect refrigerant connections, pressure-test where required, and confirm operation. Buying tools does not replace training: poor connections, contamination, or incorrect evacuation can cause leaks, weak performance, or equipment damage.
Some jurisdictions restrict refrigerant work to qualified technicians. Electrical work may also require a licensed electrician or permit. Check local requirements and the equipment warranty before treating the job as fully DIY.
Pre-charged quick-connect line sets: helpful, not magic
Pre-charged quick-connect line sets are intended to reduce some of the specialized refrigerant work on compatible systems. They can be convenient when the line-set length, fittings, and installation method match the manufacturer’s requirements. They do not erase the need for careful routing, secure mounting, condensate planning, electrical compliance, or leak-conscious assembly.
Check the exact equipment documentation. “Pre-charged” does not mean every line set can be shortened, extended, or reused freely. Do not assume a connection is correct just because it feels tight. Follow the manufacturer’s instructions and have a qualified professional handle any work that falls outside your ability or local rules.
Custom-Cut vs. Fixed-Length Line Sets
A fixed-length line set can simplify ordering and may suit a straightforward installation. But the route still has to fit the equipment’s minimum and maximum length requirements. Too much extra copper is not something to casually hide in a tight coil behind the condenser; follow the manufacturer’s guidance for allowable routing and excess length.
Custom-cut line sets can give the installer a better fit for an unusual route, but they may require field-made connections and additional refrigerant-system work. That can call for specialized tools, testing, and technician expertise. Ask the installer whether the quote assumes a factory-length kit or a custom line set, and what happens if the planned route changes once the wall is opened.
115V Plug-In Convenience vs. 230V Hardwire Reality
Some small-capacity mini splits are marketed with 115V plug-in power. That can be genuinely convenient when the exact model is designed for the receptacle and circuit available. Still, verify the electrical specifications and circuit requirements; a plug is not a promise that any nearby outlet is suitable.
Many systems—especially higher-capacity models—use 230V power and need a dedicated circuit, hardwiring, and an outdoor disconnect. The electrician may need to run a new circuit from the panel, and the panel may need available capacity or other work. Confirm whether electrical work is included in the installer quote or priced separately.
Also distinguish power for the outdoor unit from any indoor-unit wiring. System designs vary, so use the manufacturer’s wiring diagram rather than assuming the indoor head plugs into a standard outlet.
Where Zone Air, MrCool, and Pioneer Fit
Equipment brands and sellers can shape the overall budget, but the brand name alone does not tell you the installed cost. MrCool and Pioneer offer ductless equipment and systems with different installation approaches, including products marketed toward DIY buyers. Compare the exact model, included components, line-set compatibility, electrical requirements, warranty terms, and access to local service—not just the advertised unit price.

Zone Air may be one option to contact for an installation quote, depending on your location and the services it offers there. As with any contractor, confirm that the proposed equipment and scope suit the rooms, that the installer is qualified for the work, and that the quote spells out commissioning, permits, and electrical responsibilities.
Regardless of brand, get at least two or three comparable bids. Ask installers to quote the same equipment model—or clearly identify any substitutions—so you are comparing labor and scope rather than apples with oranges.
How to Compare Installer Quotes
- Ask for an itemized scope. Separate equipment, labor, electrical work, permits, line-set materials, and optional add-ons.
- Confirm the line-set plan. Request the estimated length, route, and whether it is fixed-length, custom-cut, or a compatible quick-connect kit.
- Clarify power requirements. Ask whether the quote includes the required circuit, disconnect, wiring, and any panel work—or assumes they already exist.
- Ask what commissioning includes. Find out what tests and startup checks the installer will perform and whether they provide documentation.
- Read the warranty conditions. Ask who handles equipment and labor coverage, and whether DIY installation affects either.
- Get changes in writing. Have the contractor explain how added wall work, longer piping, or electrical surprises will be priced before work begins.
So, What Should You Budget?
For a straightforward, professionally installed single zone in 2026, a reasonable starting budget is $1,500 to $4,500 per zone, with roughly $500 to $2,000 of that potentially going toward installation labor. Treat those figures as planning ranges, not a promise. Equipment selection, electrical work, line-set routing, access, permits, and included commissioning can move the total considerably.
The practical question is not just “What is https://sophiasparklemaids.com/mrcool-care-kit-monthly-cost-is-it-worth-paying-for/ the unit price?” It is “What tool does this really require, who is using it, and what work is included?” A clear quote should explain the line-set approach, power connection, drainage, startup, and warranty responsibilities. That is how you avoid a bargain that turns into an unfinished weekend—or a system that is harder to live with than it looked in the showroom.